Showing posts with label Indian. Show all posts

Friday, April 5, 2013

Handi Dum Biryani


Handi is a clay vessel that has a thick wide base, narrow neck and a wider mouth. It is designed such that the steam retains maximum flavours. The american version of this, is a bean pot.
'Dum' is a slow cooking method where the clay vessel is soaked in water for several hours, which on heating releases steam and cooks the food. The heat which passes through clay gives out a distinct taste as against metal utensils. The handi/pot is traditionally sealed with a dough and cooked for a few hours on a low flame. 
Traditionally it is used for meats, hard lentils/pulses on a charcoal bed. As we rarely use charcoal now, it is done on the stove on a low flame.


Earthenware cooking is something that really interests me not only for its method but also for its taste.
A slow cooking method which imparts a an earthy sweet taste and texture to the food cooked.

I had been eyeing one such small clay-pot/ handi for a while now and my dear mother surprised me one evening. Since then, I have been waiting to use it for something. 
After a lot of pondering, I decided to make the obvious pick, dum biryani.

Since it was my first time I used the handi just for steaming and not for actual cooking. You may refer to my notes if you wish to try cooking in the pot itself.

However, it definitely tasted a lot better in the pot. My family eats mildly spicy food so you may make it spicier as per your taste. It pairs well with plain yoghurt or just by itself. I prefer the latter!

So here it is then:

Serves: 4 Preparation Time: 15 mins.  Cooking Time: 20 -30 mins

Ingredients:

For Fresh Biryani Masala:

1 big black cardamom / Badi elaichi
3-4 cardamom pearls
1 cinnamon stick
4-5 black peppercorns
3-4 cloves
1 tsp black cumin /shahi jeera (or regular jeera) 
1 whole kashmiri red chilli
a few bits of mace / javitri

Other Ingredients:

1 bay leaf / Tej patta
½ cinnamon stick
3-4 black peppercorns
2-3 cloves
1 small black cardamom
3 tbsp ghee/clarified butter
1 cup sliced onions ( 2 medium sized onions)
2 tbsp garlic paste
1 tbsp ginger paste
1 tsp red chilli powder/lal mirch
1 ½ cup boiled vegetables with salt (carrots, cauliflower, potatoes, french beans, peas)
2 tbsp chopped capsicum
½ cup curd
a pinch of turmeric/haldi
1 tsp readymade biryani masala (optional)
1 tsp corriander-cumin seed powder/dhania jeera
salt as per taste
1 cup fried onions 
¼ cup milk mixed with a few sprigs of saffron
1 tbsp coriander leaves
1 tbsp mint leaves

For Rice (To be boiled together):

1 cup rice
few cloves
few peppercorns
some mint & coriander leaves
1 cinnamon stick
2½ cup water
Salt as per taste 

For Garnish:

1 tbsp of coriander, freshly chopped

Method:

1. Thoroughly wash the rice and cook with the spices until 90% done. You may tie the spices in a bundle so it is easier to remove later. 

2. Now take all the spices under 'For Fresh Biryani Masala' and dry roast them until they get fragrant. This will take about 2-3 mins. The moment it starts giving out the nice smell get it off heat and crush it well in a mortar pestle.  It should be nicely powdered. Alternatively, you may grind it in a mixer. Keep aside.

3. Now heat the ghee in a pan. Once hot, add all the whole spices (Bay leaf, Cinnamon, Peppercorns, Cloves, Black Cardamom). 

4. After 45 seconds add the sliced onions and sauté. It should turn pale pink in colour.

5. Mix in the ginger and garlic paste and sauté for another minute.

6. Now add the capsicum and let it all cook for about 3 mins. 


7. Add in the spice powders - fresh biryani masala, red chilli powder, turmeric, dhania-jeera. Mix well and let it cook for another 30 seconds.

8. Now add in the curd and mix well. Add salt. Let it cook till the ghee separates. (At this point, if using, add the readymade biryani masala)

9. Mix in the boiled vegetables and let it cook covered for a good 5 mins.

10. Get it off heat and keep aside. The rice should be ready by now. Drain them and keep aside. (Make sure to remove the whole spices from the boiled rice)

For Assembling:

1. Divide the vegetable mixture, the rice and the fried onions, all into 2 parts.

2. In the handi, place one portion of the vegetable mixture. Spread it evenly.

3. Now place one portion of the rice and spread it evenly. Now sprinkle half the saffron & milk mixture. Then sprinkle half the fried onions, coriander & mint leaves.

4. Place the remaining vegetables on this to form another layer. Then place the remaining rice & sprinkle the balance saffron & milk mixture, fried onions, coriander & mint leaves.


5. Now cover and let it cook for 10 mins on very low heat. Make sure the steam doesn't escape.

6. Put it off heat, sprinkle 1 tbsp coriander and serve with some plain humble yoghurt. 

Enjoy this yummy spicy handi dum vegetable biryani!

Notes & Tips:

1. Before cooking in any clay-pot, soak it in water overnight the first time. The subsequent times,  soak it for 30 mins. 

2. You can use 1 cup finely chopped tomatoes instead of curd. If so, cook the tomatoes for 10 mins until entirely soft and the fat separates.

3. If your clay-pot doesn't have a cover, you can cover it with a foil paper which is firmly closed. 

4. You may want to skip the fresh biryani masala for a readymade one. Although it maynot be as flavourful, its a good option when in hurry. If doing so, use 1½ tbsp of readymade biryani masala. However, you may adjust it as per desired hotness.

5. For the fried onions:

Take the thinly sliced onions and wrap them in kitchen towel or tissue paper and get all the excess moisture. 
They should be dry. Add about ½ tsp of cornflour and mix. 
Deep fry in hot oil over slow flame until brown. The key is to add a few at a time. 
Drain the excess oil on kitchen towel and use as required. 
2-3 medium sized onions will yield about 1 cup fried onions. 

6. Alternatively, you can cook the biryani in the pot/handi. There are 2 ways to go about this:

a) The easier option is to cook the vegetable mixture in the pot itself. Just replace the metal vessel with your clay pot. Once cooked, there will be just one layer of vegetables and rice. Everything else remains the same.

b) The other way being, marinate all the vegetables (raw or parboiled) in curd/yoghurt and fresh biryani masala for about an hour. Then, in the pot itself, follow steps 3,4 & 5. Add vegetables with about 1 ½ cup water and cook till vegetables are soft. Proceed with layering and steaming & serve.

7. To make the saffron milk mixture, use lukewarm milk to infuse the flavour of saffron better.


Thursday, February 28, 2013

Aloo Phudina Paratha


I really like the flavour of mint leaves! Be it soups, mocktails, subzis, breads.. or whatever! It just lends a beautiful flavour to the final dish.
I can talk about food for hours especially if the one I am talking to is a foodie like me! So one of such conversations led to my friend sharing this recipe with me as her office packed lunches!

Potatoes (Aloo) are a versatile base to experiment with different flavours. Although I had tried Aloo Phudina Paratha in a dhaaba in Amritsar a few years back I never made it at home! Theirs was mainly potatoes, mint, onions. Whereas mine was sans onions and with little methi leaves (fenugreek) instead.
I don't like potatoes much but with mint I had to try!

And hey! a quick fact: Mint aids digestion and has relaxing properties. So this is another reason why you should try this!

So here it is:

Serves: 3-4 Makes: 15 Parathas. Preparation Time: 15 mins. Cooking Time: 15 mins

Ingredients:

For Filling:
350 gms Potatoes (6 medium sized), boiled
2 tbsp fenugreek/methi leaves, washed and chopped (optional)
1½ tbsp garlic (5 cloves), crushed (optional)
1 tbsp ginger, grated
¾ cup mint leaves, washed and chopped
1 tbsp green chilli paste
1 tsp Garam masala (optional)
1 tsp Kitchen magic masala (optional)
1 tsp Amchur (dry mango) powder
Salt as per taste
1 tsp oil
1 tsp jeera (cumin seeds)

For Dough:

2 cups sifted wheat flour
2 tbsp oil
1 tbsp salt
Water as required

Some dry flour for dusting
Oil or Ghee (Clarified Butter) for roasting

Method:

1. Prepare the dough by mixing all the ingredients under 'For Dough' and knead into a soft dough. Cover it and let it sit.


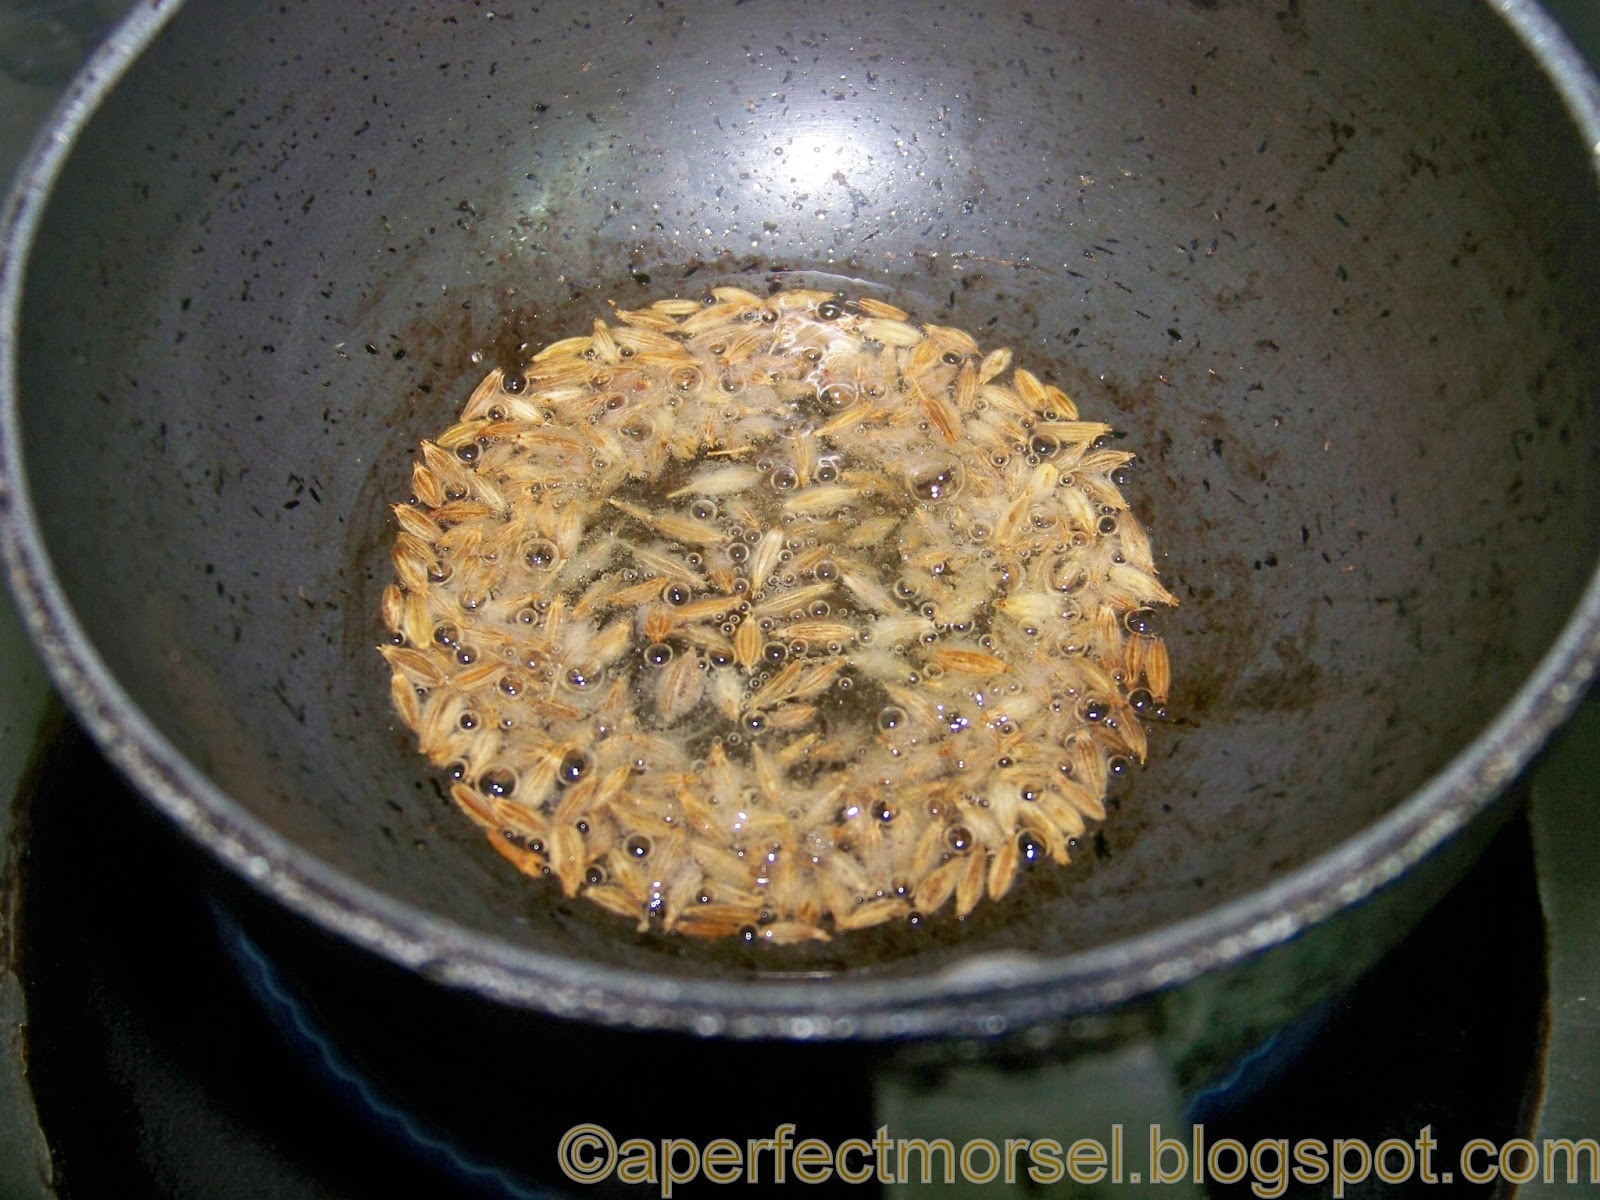
2. Heat oil in a small and shallow pan, add jeera. Once it crackles, add the methi leaves. Stir and let it cook for about 1 min and put it off heat.


3. In another mixing bowl, mash the potatoes and add all the remaining ingredients along with the methi leaves and mix well. (I added the amchur after taking the picture! oops!)

4. Divide this mixture into equal sized balls.


5. Now, divide the dough into equal sized balls. Roll each ball into a flat bread/roti and place the stuffing. Close it like a dumpling and roll it  using some flour kept for dusting.


6. Dry roast it on a griddle, once light pink/brown spots appear change sides and roast using ghee or oil as preferred.

7. Serve hot with raita or flavoured curd! Enjoy!!


Notes & Tips:

1. For Jains:

Substitute the potatoes for raw bananas/plantain (2 -3 medium sized). Skip the garlic. Proceed as it is.

2. Alternatively, the fenugreek can be skipped completely. If doing so slightly increase the quantity of mint.

3. You may also sauté some onions with jeera (and or methi) and add to the filling.

Tuesday, January 22, 2013

Dry Masala Roti


Recently, one sunday evening I was alone for dinner and usually I am too lazy to experiment when its just me! So I tried something thats healthy, fast and easy to make. So I surfed online and bumped into this recipe here!
A mix of dry spices and urad dal ground together and stuffed inside a roti. I made a few changes and adjusted the proportions as per my taste. It is very simple and pairs well with curd.

Serves: 2 Preparation Time: 5-10 mins. Cooking Time: 10 min

Ingredients:

For the dough:

1½ cup sifted wheat flour + some for dusting
1 pinch of salt
1 tbsp oil
Water as required

For the dry masala:

½ cup skinless split black gram/ urad dal
1 tbsp whole coriander seeds/dhania ke beej or powder
1 tbsp whole fennel seeds/saunf or powder
½ tbsp black peppercorns/ kali mirch or powder
¼ tsp garam masala
½ tsp red chilli powder
½ tsp dried mango powder/amchur
1½ tbsp bengal gram flour/besan
¼ tsp turmeric powder/ haldi
Salt as per taste

For roasting:
Ghee/clarified butter as required

Method:
1. Firstly, if you are taking whole spices, dry roast them - coriander seeds, fennel seeds, black pepper. This will take barely 30 - 45 seconds on a small hot pan. They will turn a slight brown and that is when we immediately transfer to a mixing bowl.

2. Now, take the bengal gram flour/besan and dry roast for about 30 - 45 seconds. Once done, immediately transfer to a mixing bowl.

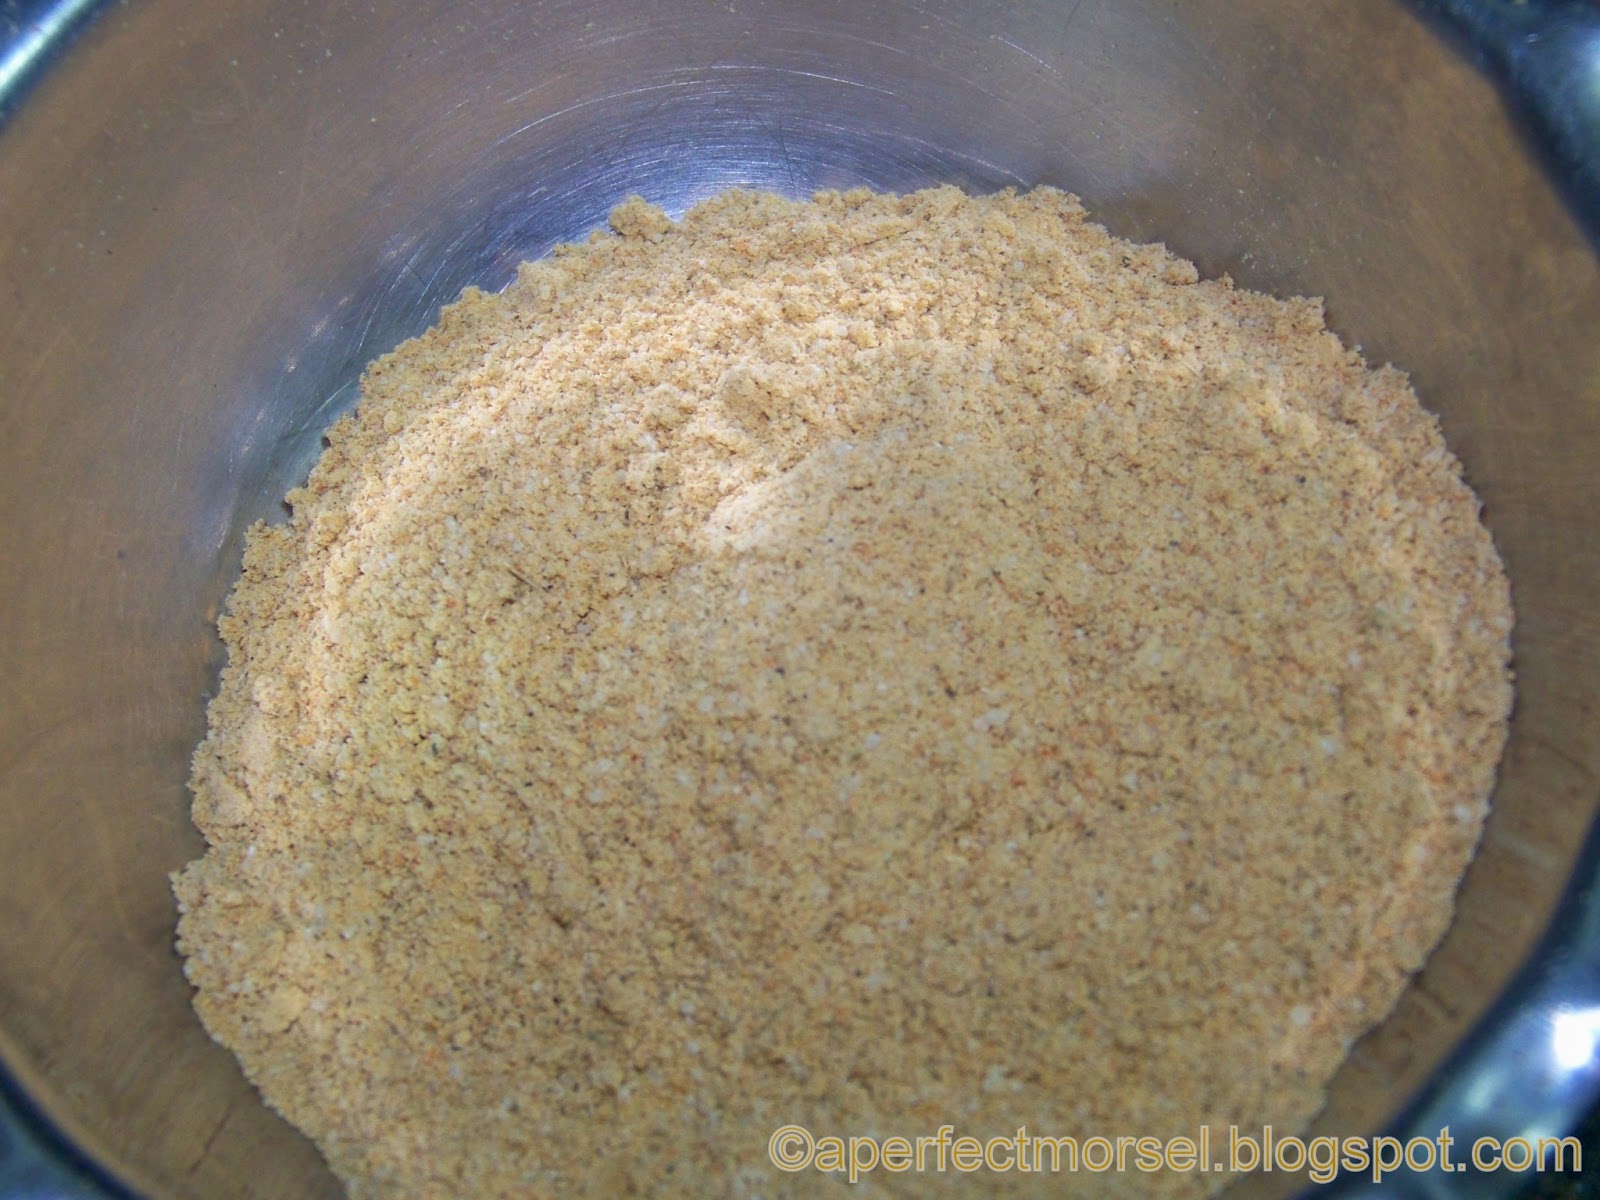
3. Now in a mixture grinder, dry grind the whole spices and all other ingredients under dry masala into a fine yet slightly coarse powder.

4. Check for salt and tang and mix well.


5. Now make a soft roti/chapati dough using the items under 'for the dough'.

6. Just like we make stuff paratha, divide the dough in equal sized balls. Now, flatten each ball and roll it till its 1cm thick and put in about 1 tbsp of  the dry masala as a stuffing. Seal all the sides. Dusting as required, roll them into thin rotis.

7. Dry roast both sides until light brown spots start to appear, use a little ghee and finish the roasting.

8. The simple dry masala rotis are ready to eat! Serve them just like that, or with curd, or as you like it!


Notes & Tips:

1. Dry roasting the whole spices lets them release their aromas and flavours. You can do the same with the powders too. Just ensure they do not burn. A very light brown and a light smell is enough. Immediately transfer it as it may continue to roast due to residual heat.
Alternatively, if you are in a super hurry, you can simply grind them without roasting.

2. This can be used for stuffed puris as well.

3. This can be stored in a cool and dry place for 8 to 10 days.

Monday, January 21, 2013

Tomato and Moong soup


Another soup and a healthy one at that!

Its always fun to experiment with tomatoes. They complement different combinations of foods making it so versatile.
So this is Sanjeev Kapoor's recipe. I have made my version of this recipe.
Since having our plain old tomato soup can often get boring so here I tried experimenting with 2 different ingredients that will change its flavour and also make it healthier - Carrots and split green moong dal.
Its also a good soup to overcome those sick days as its light on the stomach and yet nutritious.

So here we go:

Serves: 3 - 4 Preparation Time: 10 mins (& soaking time) Cooking Time: 15 mins

Ingredients:

3 tbsp split green gram/ dhuli moong daal, soaked for ½ hr
1 medium sized carrot, roughly sliced
1 medium sized tomato, roughly chopped
4-5 garlic cloves, sliced roughly
1 ½ tbsp oil or butter
½ tsp red chilli powder
Salt as per taste
1 tsp black pepper
Water as prequired

For Garnish
2 tbsp chopped coriander
1 tbsp grated cheddar cheese (optional)

Method:

1. Soak the moong dal and chop the tomatoes and garlic.


2. Now heat some oil/butter in a pressure cooker and sauté the garlic and carrots for 2 mins.


3. Now add the tomatoes and sauté until soft for further 2 mins.


4. Now mix in the thourougly washed moong daal, 1 cup water, salt and mix well. Pressure cook for 4-5 whistles.


5. Once cooled, blend the mixture and add water according to desired thickness. Do not strain.


6. Check for salt and season with pepper and red chilli powder.

7. Garnish with coriander and/or cheese.

Relish this thick soup just like that on a diet evening or with a light dinner.


Notes & Tips:

1. Jains should omit the garlic and add 1 tbsp of ginger and proceed with the recipe as it is.
Carrots can be omitted as well. If doing so, add 2 tomatoes instead.

Thursday, January 17, 2013

Dhaaba-style Daal (Countryside Lentils)


Its been really long having posted! I had a long trip to Kerala..! I got sooo relaxed after that, that I got too lazy to post! But did not stop cooking, just couldn't manage to post it all!

So here I am with this different and authentic daal which I am certain will now be a regular in your house!
Its a mix of 4 daals (lentils & beans) with a smoky flavour in tomato and garlic gravy.
This daal tastes delicious with any Indian bread as well as rice! You can pick your favorite.

Serves: 4-5 Preparation Time: 15 mins (& soaking time) Cooking Time: 20 mins

Ingredients:

To be soaked for atleast 7 hrs and pressure cooked until soft (10 - 12 whistles) with some salth and  ½ tsp soda-bi-carb (optional)

2 tbsp Rajma/ Red Kidney beans
2 tbsp Chana Daal/ Bengal Gram
1 tbsp Masoor Daal/ Red Lentil
¼ cup Split Urad Daal/ Split Black Gram/ Split Black Lentil

Other Ingredients
1 medium sized onion, finely chopped
1 big tomato, finely chopped
1 tbsp garlic, crushed
1 tbsp ginger, crushed/grated
2 tbsp green chillies, finely chopped (optional)
3 tbsp oil
1 tbsp jeera/ cumin seeds
1 tbsp butter
1 tsp kasturi methi/dry fenugreek leaves
3 tbsp water
Salt as per taste

Masalas / Spice Mix
½ tsp red chilli powder
½ tsp haldi/ turmeric powder
1 tsp kashmiri red chilli paste/ powder
1 tsp jeera powder/ roasted cumin seeds powder
1 tsp garam masala

For the Dhaaba/smoky flavour: 

A big slice of onion/cabbage
1 small piece of coal
1 tbsp ghee/clarified butter

For Garnish:

2 -3 tbsp finely chopped coriander/cilantro

Method:

1. Pressure cook the pulses/lentils/beans.

2. Chop the onions & tomatoes, finely.

3. Heat oil in a deep vessel ( I used a pressure cooker). Add to it jeera. Once it starts crackling, add garlic and onions. Sauté for 1 min and add crushed ginger. Sauté this mixture for 2-3 mins until soft.


4. Now add the tomatoes with a pinch of salt and cook until soft and mushy.


5. Once soft, add to this all the masalas/spices under the heading masalas/spice mix. Cook for about 1 min.


6. Now mix in the pulses/beans/lentils and add water. Mix well and let it simmer for 8 - 10 mins.


7. Now take the kasturi methi and rub it on your palm to release the fragrance and quickly add to the dal.


8. Now add the chopped green chillies and butter. Mix well. Let it simmer for 2 mins and turn off the heat.
I skipped the green chillies as this is spicy enough for my family.


For the smoky flavour:

9. Heat the coal on direct flame until it changes colour to orange.


10. Once hot, place a slice/peel of the onion or cabbage on the daal.


11. Now quickly put the coal on top of this slice. Pour the ghee on the coal and immediately close the lid.
This will create smoke and make sure the lid is placed tightly and the smoke doesn't escape.


12. After 5 mins, open the lid and remove the slice and coal (to be discarded). DO NOT OPEN THE LID  SEVERAL TIMES.

13. Sprinkle coriander and serve hot with paratha or steamed rice!

Enjoy!! I served it with Lachha parathas.


Notes & Tips:

1. This smoky flavour can be replicated for other type of daals or even subzis.

2. For Jains:

Simply skip the onions and garlic and follow the recipe as it is. You may increase the quantity of ginger to
2 tbsp.

3. When the ghee is poured on coal, it will result in some smoke. Hence immediately cover it with the lid tightly and let it get infused for at least 5 mins and then open.


Saturday, November 17, 2012

Tawa Pulao


Happy Diwali and Happy New Year to my readers! Wishing you all another year of love, happiness, good health and lots of wealth!

So diwali kept me busy.. With cleaning, shopping, helping mom with diwali snacks and sweets! And I did not really make anything worth posting. And some times I was busy eating out! Haha! Once I made green cabbage soup, but it was not so great! I will try it with some herbs next time.

I made an adapted version of Tawa Pulao from here. A simple and quick recipe with lots of spiciness. A good alternative to the regular pulao that goes well with plain youghurt/curd to balance the hotness.

So here it is:

Serves: 2-3 Preparation Time: 5-10 mins. Cooking Time: 10 mins

Ingredients:

1 cup rice, raw, washed
2 tomatoes, roughly quartered
5-6 garlic cloves, crushed
1 tbsp ginger paste/crushed/grated
2-3 kashmiri red chillies, soaked in hot water for ½ hr at least
1 medium sized onion, finely chopped (½ cup)
3 tbsp green capsicum, finely chopped
3 tbsp carrots, finely chopped
2 -3 tbsp peas
1 tsp red chilli powder (optional)
1 tbsp pav bhaji masala
1 tbsp cumin seeds/jeera
2-3 tbsp oil
salt as per taste

For Garnish
Freshly chopped Coriander

Method:

1. Thoroughly wash the rice and boil with peas, adequate water and salt till the grains are separate and 90% cooked.

2. Simultaneously chop the veggies - carrots, onions, capsicum. Crush the garlic and grate the ginger.


3. Next, take the red chillies (discard soaked water) and tomatoes and blend it into a smooth puree.


4. In a pan, heat oil and add jeera. Once it crackles, add onions and sauté till soft.


5. Now add garlic and ginger and cook for another minute. Then add the carrots and capsicum and cook for about 2 mins.


6. The rice which should be done by now should be strained and left aside.


7. We now add in the purée to this mix. Also add salt, pav bhaji masala and red chilli powder. Let this mixture cook until it is dry and the oil starts separating. This will take about 5-6 mins.


8. Now simply toss in the rice with fork and garnish with coriander.

Our spicy Tawa Pulao is ready to eat with some cool yoghurt!

Notes & Tips:

1. It is ok if you do not have enough time for soaking the red chillies.

2. My Tawa Pulao turned out to be rather spicy than my usual taste (oops!) so you can skip the red chilli powder entirely if you want it less spicy.

3. We do not cook the vegetables entirely so that they lend a slight crunchiness by the time Tawa Pulao is ready.

4. For Jains:
Follow Step 1 and 2 as above skipping onions and garlic.
Heat oil, add jeera and bay leaf. Next, add ginger and some finely chopped cabbage (3 tbsp) instead.
Sauté for about 1 min and add the vegetables and cook for 2 mins.
Follow as it is step 6 onwards.

Enjoy!


PS: The pics are from my mobile.. My camera is travelling! ;)